Representative image
Master bike repair in Vlorë, Albania. Learn how to handle salt corrosion, find local mechanics, and perform DIY fixes for coastal and mountain cycling routes.


You hit a sharp pothole near the Vlorë Marina, bent your front wheel, and heard an abrasive grinding noise coming from your chain. You search your phone for a quick and reliable mechanical solution.
Vlorë lacks dedicated high-end bicycle storefronts. You must rely on cycling tour operators for professional tune-ups or learn to handle basic tire patches and chain cleaning yourself. This guide breaks down exact repair techniques, local costs, and gear strategies for handling southern Albanian routes.
Cycling in Vlorë offers a mix of smooth seaside promenades and aggressive gravel ascents. This specific environment places unique stress on bicycles. The Adriatic sea air carries heavy salt moisture. This atmospheric salt corrodes unprotected steel components within days. Riders frequent routes reaching up to 1,000 meters in elevation. High elevation climbs demand perfect gear shifting.
Many local routes transition abruptly from fresh asphalt to broken rock. The trails leading toward Kaninë or the Narta Lagoon are prime examples. Data from Komoot route tracking shows that popular local loops average 40 kilometers in distance. These paths lack any immediate repair infrastructure. If your chain snaps in the pine forests of Zvërnec, you are stranded.
Tourism numbers in the region are growing rapidly. Expanded tourism increases the demand for reliable local mechanical support. Tour operators now bring specialized tools and mechanics to service their own fleets. Finding these specific people is a better strategy than visiting a random car garage.
You must adopt a preventative mindset to keep your wheels turning smoothly here. Sand ingress acts like sandpaper on moving parts. You must clear away this sand daily. Self-reliance dictates the lifespan of your equipment.
Newcomers often expect to find a massive retail store filled with premium Shimano or SRAM parts on a main city street. The actual daily reality of living and riding in Albania looks vastly different. Most storefronts labeled as mechanic shops cater strictly to scooters and mopeds. These moped mechanics mean well but rarely possess the delicate tools needed for advanced bicycle gear systems.
Do not expect to buy mid-tier or high-tier replacement parts locally on short notice. A fractured derailleur hanger or a torn 11-speed chain can end your riding season. You will wait weeks for basic components to arrive by international mail. Customs fees often push the price of imported parts very high.
Bike rental shops associated with general travel agencies exist near the port. These fast-paced rental shops prioritize volume over careful maintenance. Renters often find poorly inflated tires or frayed brake cables on daily rentals. You must inspect any rented frame for hidden cracks yourself. Do not place blind faith in the mechanical integrity of a simple street rental.
Touring companies run highly competent maintenance operations behind closed doors. You will need to reach out directly to these specialized groups for major mechanical overhauls. Your strongest defense against mechanical failure is a well-stocked home tool kit.
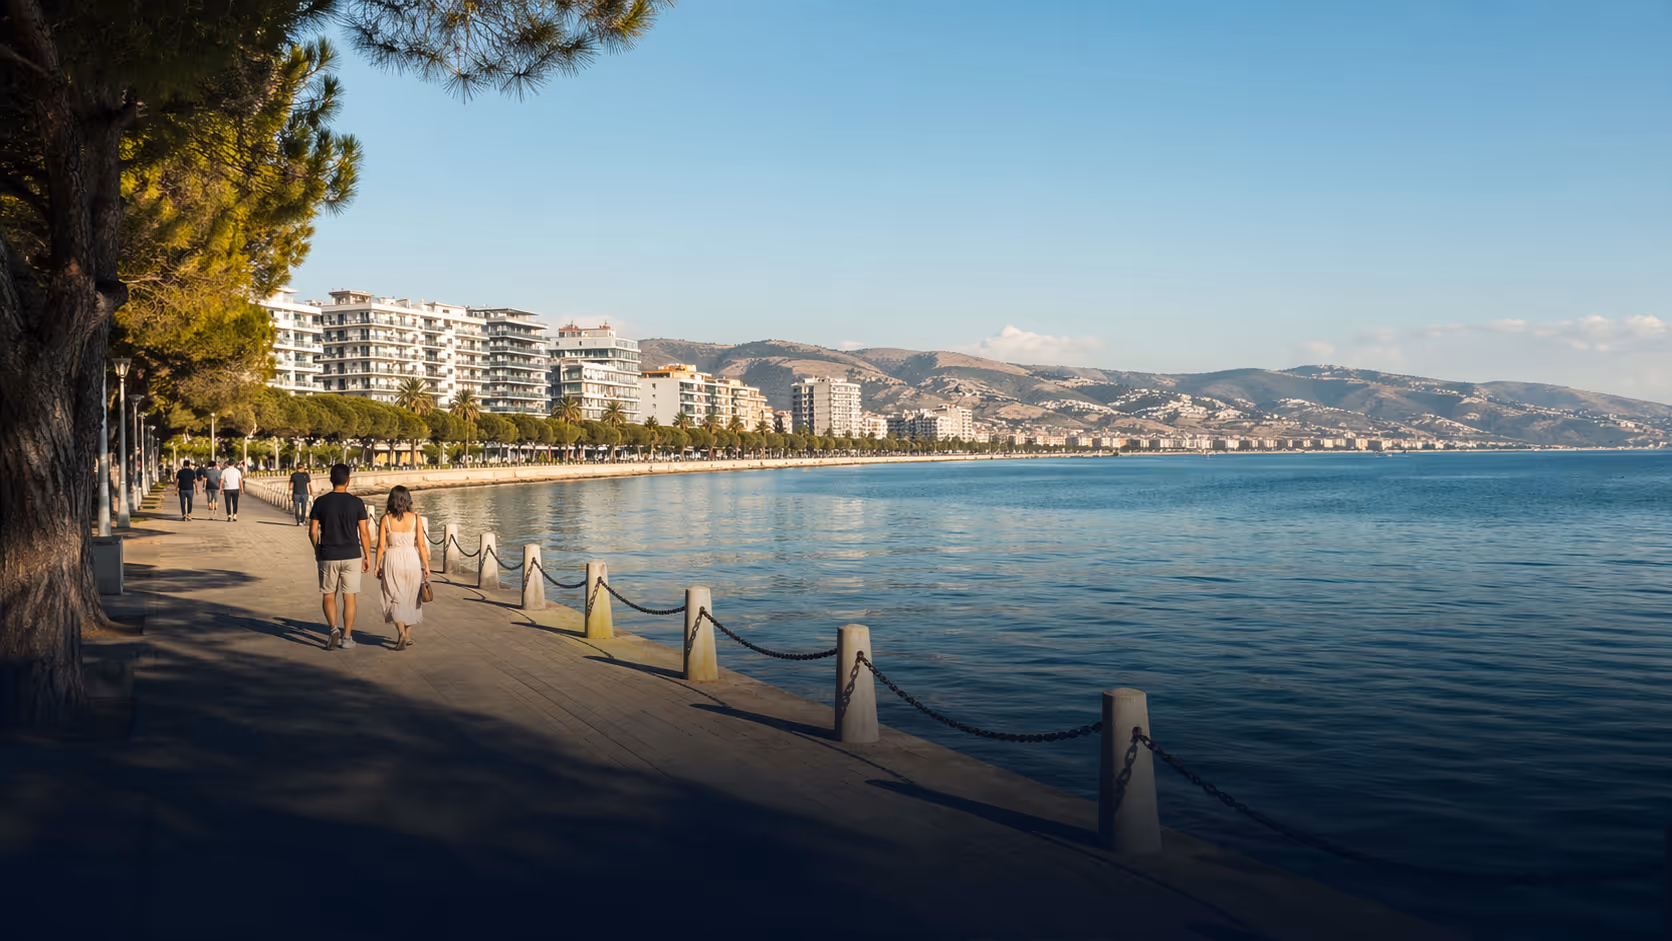
The Lungomare promenade offers a flat and fully paved surface for casual riding. It is the most popular stretch of road in the city. The flat surface hides an invisible mechanical threat. Coastal winds constantly blow ultra-fine beach sand directly across the bicycle lane.
This sand sticks to any wet lubricant on your drivetrain. The mixture creates a thick black paste. This paste aggressively grinds down your metal chain links. A chain that normally lasts 3,000 kilometers elsewhere might fail at 1,500 kilometers in Vlorë. Shimano component manuals advise halving your service intervals in heavy sand conditions.
Riding the promenade daily requires immediate aftercare. You should never park your bike outside facing the sea overnight. The overnight humidity traps salt against delicate gear cables. The cables will rust inside their plastic housings. You will notice stiff shifting within a week. Keep your bicycle stored inside your apartment or in a sealed garage.
Prices in Vlore are generally lower than in Western Europe for pure labor. Parts often cost slightly more due to import taxes. The prices below represent the standard local market rates. You pay in Albanian Lek (ALL) or occasionally in Euros.
Learning to patch a tire or clean a chain saves you consistent money. The Park Tool repair organization notes that DIY maintenance cuts lifetime shop costs by a massive margin. Buying your own basic tool kit pays for itself after three home repairs. Bring high quality parts with you when you fly into the country.
A proper tool kit prevents a minor issue from ruining your afternoon. You do not need a professional garage setup. You only need the items required to fix common coastal and gravel terrain problems.
Your on-bike kit must include durable tire levers. Plastic tire levers break easily on tight wire-bead tires. Choose levers with a steel core. You need a multi-tool equipped with Allen keys ranging from 2mm to 8mm. The multi-tool must feature a dedicated chain breaker tool.
A high volume hand pump is critical for fast repairs. Small emergency pumps require exhausting physical effort to reach adequate tire pressure. You will exhaust your arms inflating a tire on the hot roadside. A pump with a flexible hose prevents you from snapping the delicate valve stem. Always carry two spare inner tubes instead of one. Thorns often puncture both the front and rear tires simultaneously.
For your home apartment kit, buy a sturdy floor pump with a pressure gauge. Buy a chain wear indicator tool to measure link stretching. Buy a heavy duty scrubbing brush for cassette cleaning. These few items allow you to perform weekly maintenance checks safely.
Punctures happen frequently on the unpaved sections of Independence Road and the trails near Zvërnec. Sharp local thorns and pieces of road debris easily pierce thin rubber. European Cyclists' Federation research highlights that improper tire inflation leads directly to more flats. Follow these exact steps for a safe repair.
Your drivetrain includes the front chainrings, the rear cassette gears, and the metal chain itself. The quad and jeep tours running near the beaches kick up massive dust clouds. This dust infiltrates your delicate drivetrain components.
Gear indexing fixes a skipping or noisy chain. The cable controlling your gears stretches during the first few weeks of riding. You fix this stretching by locating the barrel adjuster on your rear derailleur. Turn this plastic barrel counterclockwise by half a turn to increase cable tension. Shift smoothly up and down the cassette to test the new alignment. Adjust the barrel in tiny increments until the mechanical clicking sound disappears.
Limit screws stop the chain from falling off the gears completely. A dropped chain damages your frame paint or gets wedged behind the cassette. The rocky descents stretching down from the Llogara Pass shake bicycles violently. This violent shaking loosens the limit screws over time. You must check their alignment monthly to prevent disastrous chain drops.
Look at the back of your rear derailleur. You will see two small screws marked with an "H" and an "L". The "H" designates the high gear limit. The "L" dictates the low gear limit. Shift into the smallest outer gear to check the high limit. The jockey wheel on the derailleur must align perfectly vertically with the smallest cog.
If the chain rubs or tries to fall off outward, tighten the "H" screw clockwise. Shift into the largest inner gear closest to the spokes. The jockey wheel must align under this largest cog. If the chain pushes too close to the metal spokes, tighten the "L" screw clockwise.
A chain shifting past the "L" limit will destroy your rear wheel instantly. The spokes will catch the derailleur cage. The cage will snap off and drag on the street. Checking these two tiny screws takes three minutes. It saves hundreds of Euros in potential damage.
Stopping power dictates your physical safety on sharp descents. Albania features aggressive downhill runs with tight switchback corners. Relying on heavily worn brake pads puts you in direct danger. Brake pad alignment requires precise visual checks. Proper setup reduces your emergency stopping distance dramatically.
Hydraulic disc brakes require an occasional fluid bleed. Bubbles of air enter the hydraulic hoses over a long season of rough riding. These air bubbles make the brake lever feel soft and unresponsive. Replacing this fluid pushes the trapped air out. A fluid bleed involves handling toxic mineral oil or DOT fluid. We highly recommend handing hydraulic fluid bleeds over to a local professional mechanic.
A perfectly straight wheel is called a "true" wheel. Hitting an unseen pothole near the Cold Water neighborhood bends the metal rim. A bent rim wobbles back and forth and hits your brake pads. This drains your pedaling energy and creates a pulsing friction. You can fix mild wobbles using a simple metal spoke wrench.
Every wheel features metal tension spokes bridging the central hub to the outer rim. These spokes alternate directions. One spoke pulls the rim to the left. The very next spoke pulls the rim to the right. Tightening a left side spoke pulls the rim leftward.
Flip your bicycle upside down securely. Attach a zip tie to the frame fork and trim it so the plastic tip barely touches the metal wheel rim. Spin the wheel slowly. Watch where the metal rim rubs against the plastic zip tie. Stop the wheel exactly at the rubbing point.
If the rim rubs against a zip tie on the left side, you must tighten the nearest right side spoke. Turn the spoke nipple with your wrench counterclockwise to tighten it. Only turn the nipple a quarter of a turn at a time. Spin the wheel again to check the gap. Repeat this micro adjustment until the wheel spins perfectly straight. Do not over tighten multiple spokes or you risk cracking the metal rim completely.
The material of your bicycle frame dictates its long term survival strategy near the port. High tensile steel frames offer an incredibly smooth ride quality. This steel rusts violently when exposed to salty air. Any scratch in the protective paint layer turns bright orange within hours. You must seal chips in steel paint promptly with clear nail polish.
Aluminum frames dominate the local rental market. Aluminum resists deep structural rust fairly well. Unpainted aluminum parts will develop a dusty white oxide layer instead. This oxide layer looks ugly but does not immediately compromise the frame strength. Salty moisture seeping into the aluminum bottom bracket shell still ruins internal hardware over time.
Carbon fiber frames ignore corrosion entirely. Salt water has absolutely no chemical effect on a carbon tube. A carbon frame excels on long climbing routes. The metal bolts attached to a carbon frame still rust aggressively. Carbon fiber reacts poorly to heavy impacts from sharp, jutting rocks. You must avoid over tightening bolts on a carbon frame to prevent catastrophic fracturing. Add a layer of marine grease to the threads of every bolt on your frame to block moisture.
Your bicycle utilizes ball bearings to spin the wheels, turn the handlebars, and rotate the pedals. These small steel spheres sit inside metal cups packed with grease. Fine sand particles invade these cups regularly during long summer rides. The sand mixes with the grease and creates extreme mechanical friction.
A creaking sound from your pedals usually originates in the bottom bracket bearings. You must remove the pedal crank arms with a dedicated puller tool. The bottom bracket cartridge unscrews from the frame. Wipe the frame threads totally clean. Apply a thick layer of waterproof marine grease. Reinstall the bottom bracket tightly to stop the annoying creaking sound.
The steering headset bearings endure the heavy force of front wheel impacts. Hold your front brake lever flat and rock the bicycle forward and backward. A loud knocking sound indicates loose headset bearings. Loosen the side pinch bolts on your handlebar stem. Tighten the central top cap bolt gently to compress the bearings together. Retighten the stem side bolts firmly.
Do not wash your bicycle with high pressure water wands. High pressure water easily blasts past the rubber bearing seals. The water flushes out all the protective internal grease. Your clean smelling bearings will seize onto the axles within days. Use only the gentle spray of a garden hose.
Mountain bikes featuring front suspension forks sell well in Vlorë. Riders love the extra comfort on bumpy dirt roads. The suspension fork utilizes two metal stanchion tubes that slide up and down through rubber dirt wiper seals. You must keep these silver tubes completely spotless.
The heavy road dust builds up on the stanchions during a ride. The suspension fork compresses over a bump. The dust gets dragged downward past the rubber wiper seals into the internal oil bath. The fork becomes incredibly stiff and unresponsive as the internal oil turns to sludge.
Wipe down the suspension stanchions with a soft microfiber cloth after every ride. Do not spray harsh degreaser onto the rubber seals. Degreaser dries out the rubber completely and causes severe cracking. A full internal suspension rebuild requires special factory tools and fresh dampening oil. Generic auto shops cannot service delicate air suspension forks. You must coordinate suspension rebuilds with specialized tour mechanics.
A proactive daily routine defeats mechanical breakdowns. Give your mechanical setup a visual inspection before riding out toward the beaches. Grab the front and rear tires and try to twist them left and right. This instantly highlights loose axle bolts. Pluck a few metal spokes with your fingers. A loose spoke makes a dull thudding sound instead of a sharp musical ping.
The Mediterranean climate shifts violently during late autumn. Heavy rain storms often flood the low lying beachfront roads. Riding a bicycle through deep standing street water submerges the bottom bracket completely. Water penetrates the frame shell and pools at the lowest point.
If you ride through heavy floods, pull the seat post completely out of the frame. Turn the bicycle upside down in a warm room overnight. This allows trapped water to drain safely out of the seat tube. Take a dry rag and vigorously rub down the exterior chain. Spray a light coat of water dispersing oil over the derailleur pivots.
When a repair exceeds your own mechanical knowledge, contact the professionals driving the local tourism industry. These groups possess full workshops equipped for fleet maintenance. They import quality components directly from Italy or Germany to maintain their tour standards.
Electric bikes complicate the local repair ecosystem. The damp coastal air frequently ruins poorly sealed e-bike battery housings. Do not attempt to forcefully pry open a sealed lithium battery pack yourself. Faulty wiring repairs require specialized technical knowledge not found in standard garages. Stick to traditional pedal bikes for total self reliance if possible.
Rinsing the heavy coastal salt off your bicycle immediately after a ride on the promenade is the single best maintenance habit you can build. It takes two minutes but extends the life of your expensive drivetrain by months. Join the community to connect with other long-term riders who organize group maintenance days. Finding someone to hold a wrench or lend you a specific tool makes fixing a broken gear cable vastly simpler. Local community forums hold the best knowledge on which mechanics currently offer top tier service.
Do not wait for a mechanical failure to occur on the road. Apply these immediate steps to secure your cycling setup this week.
Follow Vlore Circle for fresh guides, local updates, and community notes around life in Vlorë. It is the easiest way to stay close to what we are building.


Be part of a growing community built around connection, local life, and a better experience of Vlorë.
join the circle